For this week's assignment, we were tasked with creating an enclosure of any kind.My partner has had this Gristleizer effects kit for probably 5 years and hasn't been able to build it because he didn't have an enclosure and tools to customize it.
I thought this would be a perfect enclosure to make for class.
I found an enclosure on Amazon which was perfect because it already had the grates on the sides so that the contraption doesn't overheat, with removable, metal face and backplates, and rubber feet. I was looking for a particular box that had removable metal face and back plates so that I could customize the box easily. I was also interested in working with metal for this project because it's a material I haven't worked with much yet.
For my Gristleizer enclosure I wanted to etch what each knob did on the face plate. Luckily, this container was already painted blue, so I utilized this feature by etching off the paint to label the knobs.
Here is the Adobe Illustrator file that I created for the face plate for etching


First I tested the with cardboard

After a successful result, I etched on the face plate

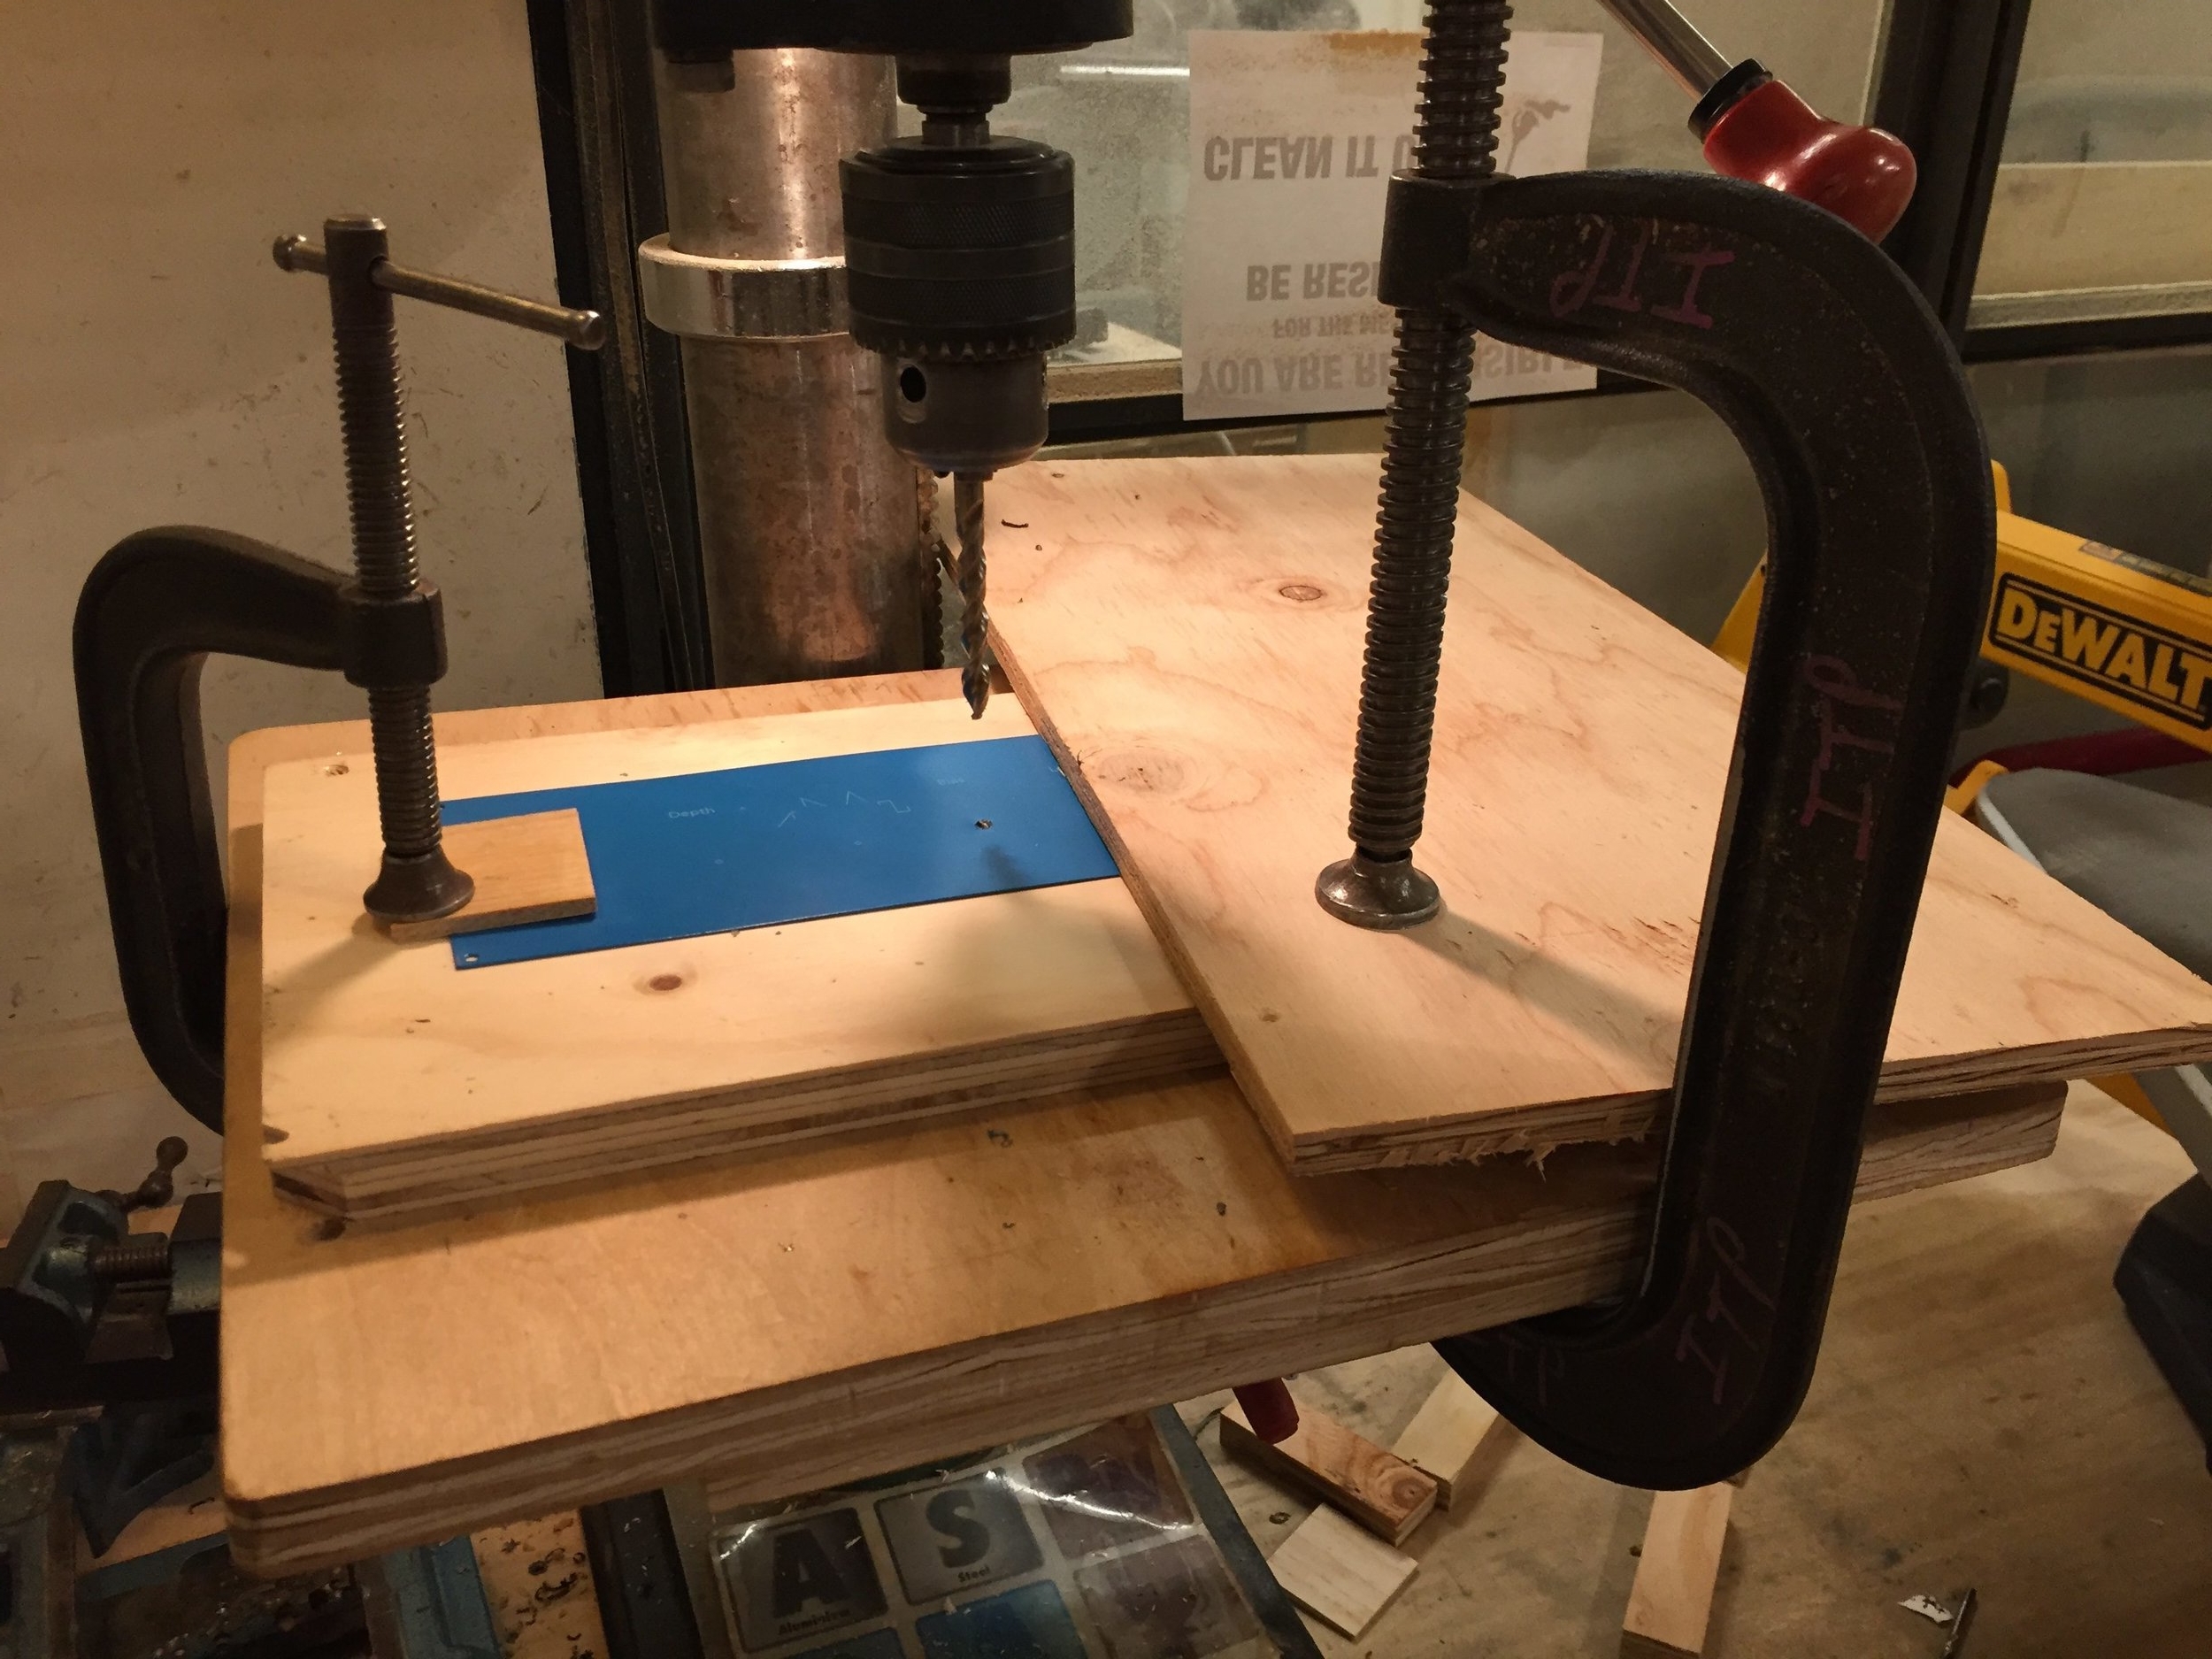
Next, I moved to the drill press to drill the holes for the face plate and back plate.

This ended up taking quite a bit of time because many of the components had different size holes. Additionally, I didn't have a stepper bit, so any hole that was larger than 0.2 inches, I had to use three different bits of increasing size to cut the metal properly.
I learned quickly that because of the rigidity and thinness of these metal pieces, both sides of the plate had to be clamped down to get the perfect hole. One of my holes is a little eaten up because the metal curled up the bit when one side wasn't clamped down as seen in the above picture.
Here is how I made the rest of the holes:
Next time, I will bite the bullet and purchase the stepper bit because I'm sure it would have cut my time drilling these holes in half.
The final result

Front plate

Back plate
